
In today's world, where data is an increasingly valuable currency, control over your own information can be as precious as gold. Traditional models of data storage have often relied on third-party services to hold and manage data. However, as concerns about privacy and data control rise, more individuals are embracing the concept of managing and having full control over their own data.
At Journey, we have always been guided by the principle that users should have complete control over their own data. Journey's initial choice to support Google Drive as the primary cloud sync was born out of this philosophy; our aspiration was to give users the freedom and flexibility to manage their personal data directly.
However, like other third-party cloud services, Google Drive has some limitations. For example, it does not offer on-demand cloud sync or shared journal features. As we kept looking for better ways to manage data for our users, these issues pushed us to create a new service - Journey Cloud Sync.
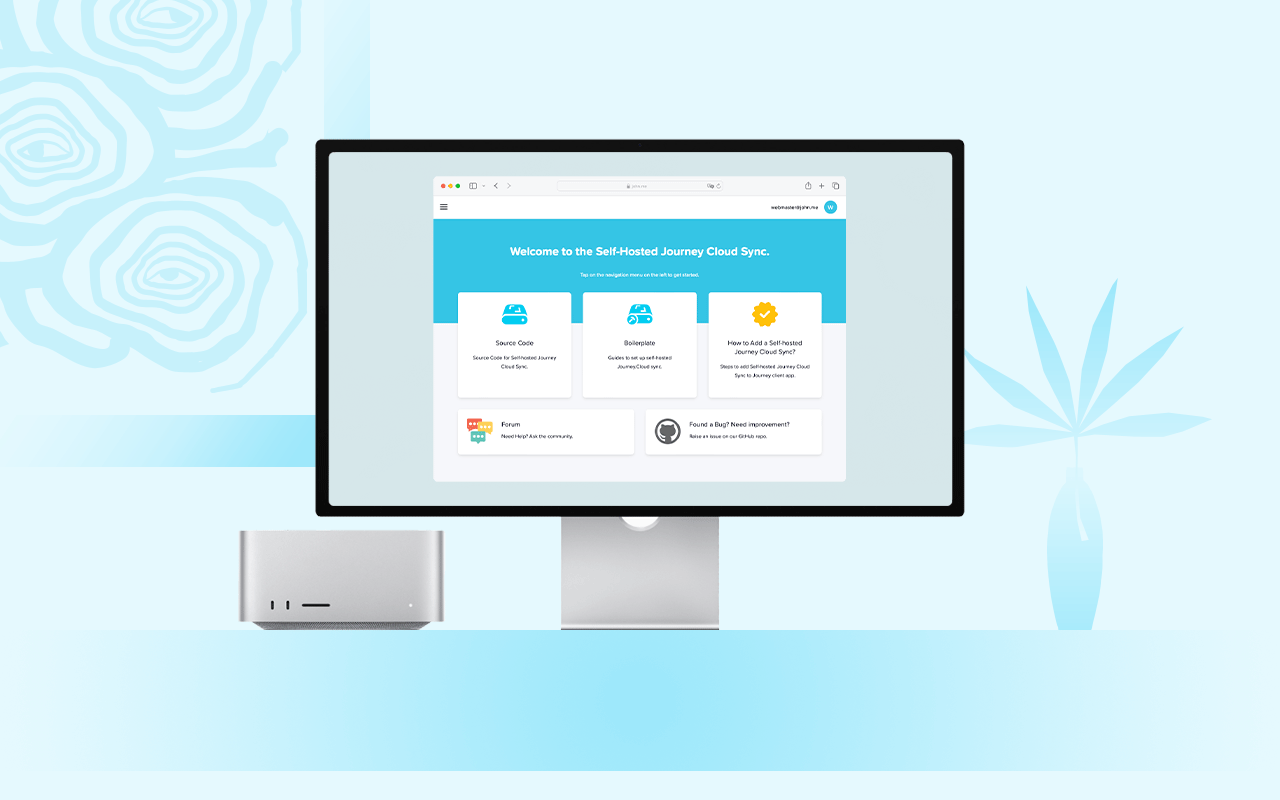
What is Self-Hosted Journey Cloud Sync?
Launched in July 2023, Journey Cloud Sync marks a significant advance toward our goal of offering a user-focused, secure, and private journal cloud sync solution.
But we didn't stop there.
In line with our founding principles, we have taken the bold step of redesigning Journey Cloud Sync, now available as a self-hosted, open-source solution for public use. This rewritten variant retains most the core functionalities of the original Journey Cloud Sync while providing users with greater control over their data.
Our self-hosted version of Journey Cloud Sync allows users who wish to self-host their journal data to do so. It's allowing even greater freedom and control, as well as the ability to modify and adapt the software to fit individual needs directly. Providing open-source accessibility to self-hosted Journey Cloud Sync is about standing by the belief that our users should have the reins of their journal data in their hands.
Benefits of Self-Hosting Journey Cloud Sync
1. Comprehensive Feature Set

With a self-hosted Journey Cloud Sync, you can enjoy almost all the features available with our flagship Journey Cloud Sync service. This includes end-to-end encryption, shared journal, video streaming, search, on-demand sync, and more.
2. Complete Data Ownership and Management
When you choose to run your Journey Cloud Sync on your own server or computer, you have full control over your data. This means you get to decide where your journal data is stored, who can see or use it, and how it is handled. You are in charge of everything related to your data, without having to rely on someone else's rules or systems.
3. Open Source Project

Self-hosted Journey Cloud Sync comes from an open-source project. This means that a wide range of users and developers actively contribute and improve it. By being part of this vibrant community, we ensure that the project will constantly be updated with the latest advancements in cloud storage.
4. Compatible with Journey Android, iOS, Mac & web app
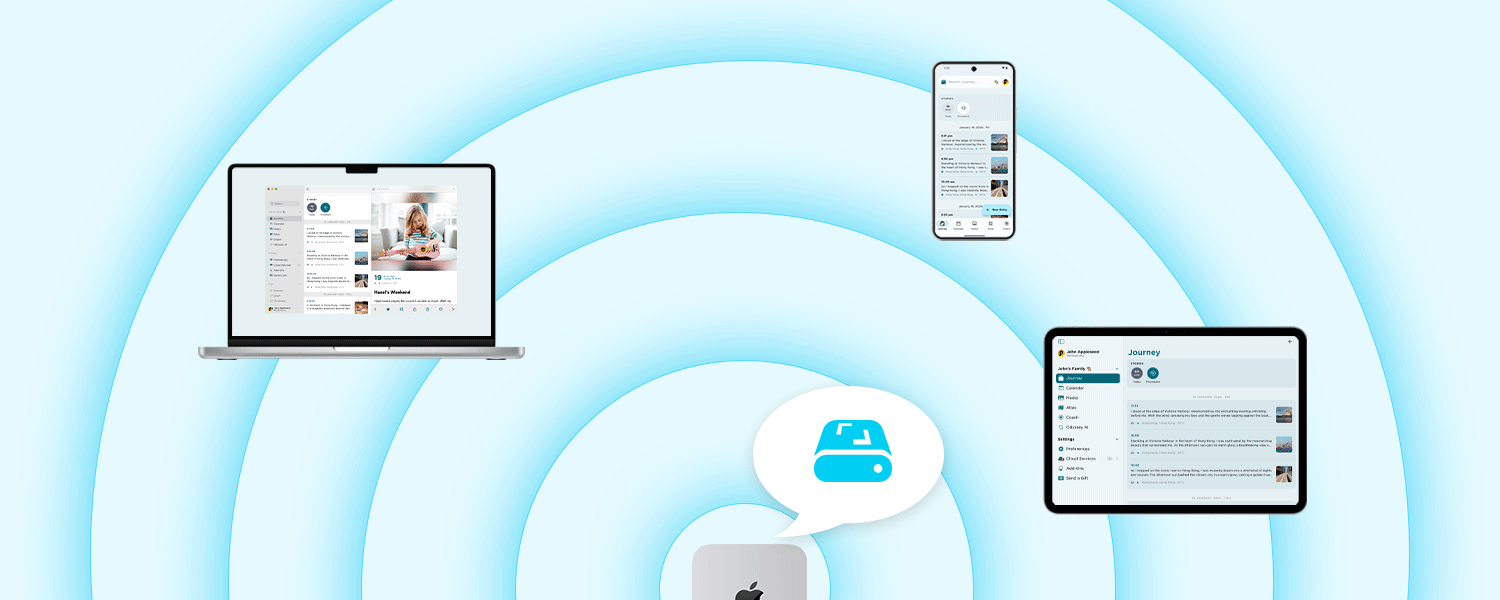
Our self-hosted cloud sync works seamlessly with various Journey platforms, including Android, iOS, Mac, and web app. That means you have the freedom to access and manage your data from your preferred device, whenever and wherever you wish.
5. Support for Multiple Users and Drives


Journey Cloud Sync's self-hosting feature allows you to add several users and drives. This way, you can easily share your journal with friends and family. Additionally, you can create separate drives for different purposes, helping you organize your entries more effectively.
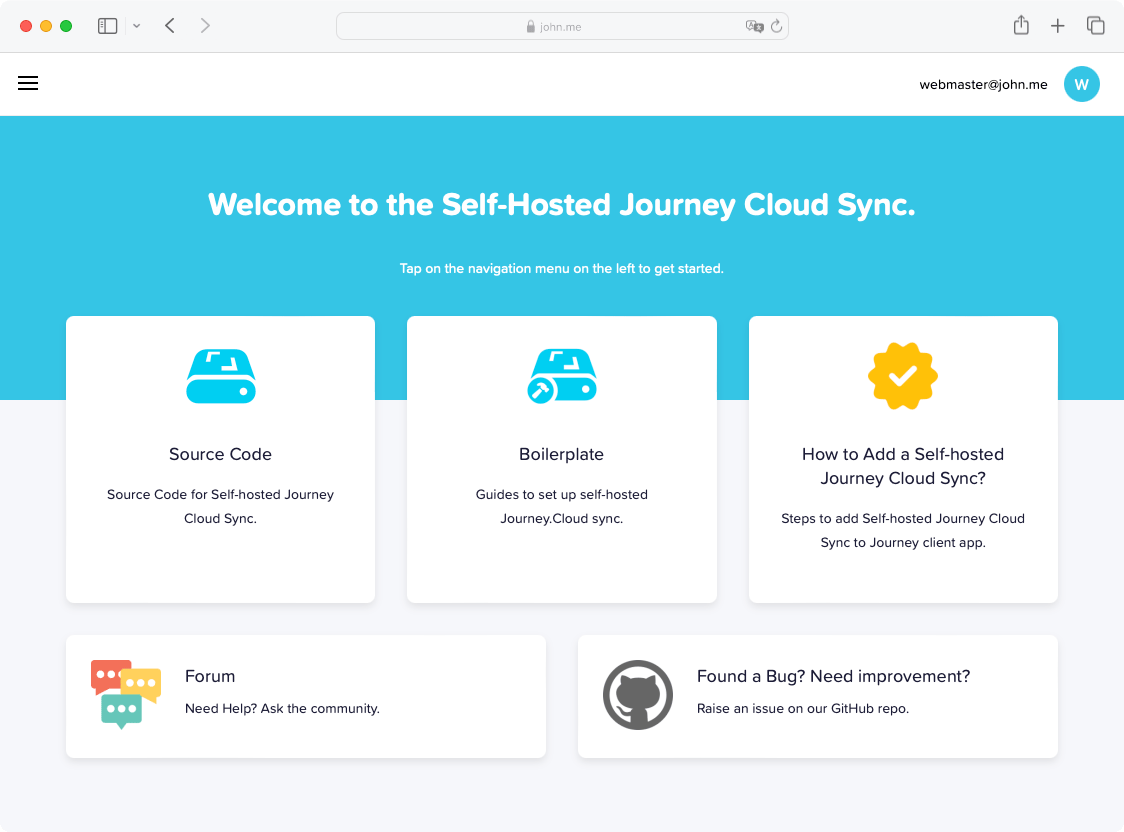
6. Admin Dashboard
The self-hosted Journey Cloud Sync comes with an admin dashboard to help manage your cloud sync effectively. This makes it simpler to oversee everything, granting you greater oversight and the ability to troubleshoot if ever necessary.
Limitations of Self-Hosted Journey Cloud Sync
Self-hosting your own Journey Cloud Sync might not be suitable for everyone. Here’s why:
1. Knowledge and Time Required
Self-hosting requires a good understanding of how servers work. You must know how to set up the server securely, keep it running smoothly, and fix any issues as they arise. If you're not already skilled in these areas, or if you don't have the time to learn, it might be a challenge.
2. Only Works with HTTPS
Self-hosted Journey Cloud Sync only supports HTTPS connections. This means you need to have SSL certificates in place to secure your data transfers, which adds another layer of complexity to the setup.
3. Cost Efficiency
Setting up your own server may end up being more expensive than using a Journey Cloud Sync hosted solution. With self-hosting, you have to pay for your own hardware and maintenance, which can add up.
4. Community Support Only
If you have any problems or questions, the only support available in a self-hosted environment is community forum. Unlike a hosted service, there’s no dedicated help desk to provide priority support.
5. Technical Setup
Getting everything set up for self-hosting requires some technical know-how. If you lack technical skills, you might find the setting up process quite daunting.
In summary, while self-hosting gives you more control, it also demands more responsibility. If these factors seem like too much of a challenge, you might be better off opting for the hosted version of Journey Cloud Sync, which is simpler to manage and comes with additional support options.
How to Set Up a Self-Hosted Journey Cloud Sync on Your Mac or Server
To set up a self-hosted Journey Cloud Sync using Docker Compose, you can choose from two methods: using MacOS 14 or DigitalOcean. Both methods have their own requirements and estimated setup times.
MacOS 14 Setup with Docker Compose:
What You Need:
- A Mac computer, for example, a Mac Studio.
- An account with Ngrok.
Follow the tutorial that guides you through using Docker Compose on MacOS 14, a version of the Mac operating system. It should take about 30 minutes to get everything set up and running.
DigitalOcean Setup with Docker Compose
What You Need:
- A DigitalOcean account.
- A domain name that you want to use for your Journey Sync Drive.
The tutorial for setting up on DigitalOcean is also straightforward and should take about 45 minutes. This version will also utilize Docker Compose but will be deployed on a cloud server rather than a local one.
Both methods aim to provide a clear step-by-step guide to help you host your Journey Sync Drive, with specific settings and configurations according to the platform (MacOS or DigitalOcean). To get started, review the detailed guides and checklists provided on the setup guide webpage.
Add the Self-Hosted Journey Cloud Sync Service to the App
Step 1: Create a New Sync Drive
To create a new sync drive in your self-hosted Journey Cloud Sync, follow these simple instructions:
- Start by logging into your admin dashboard.
- Look for the option labeled "Journey" and then click on "Sync Drive."
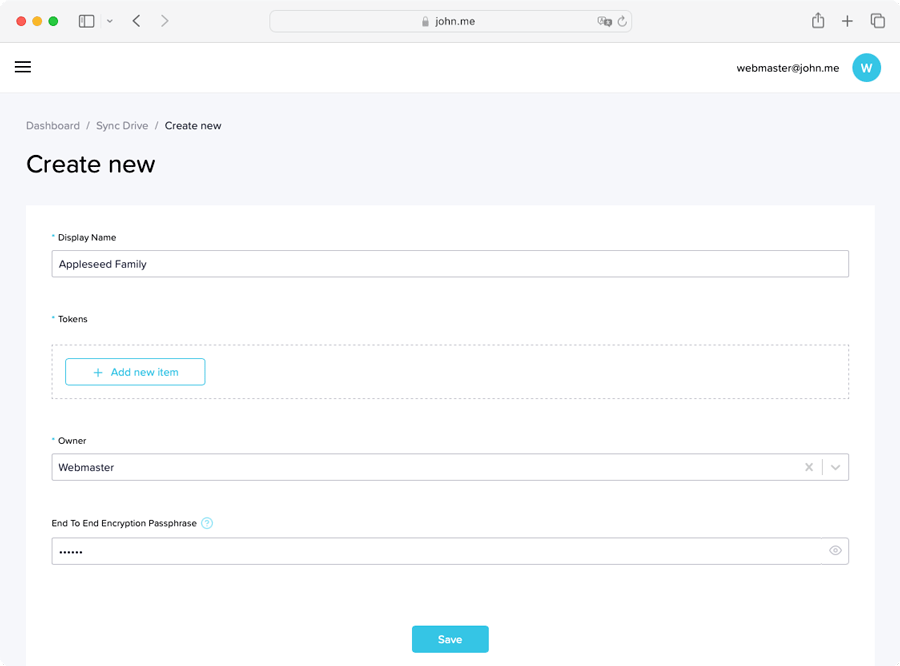
- Now, you'll see an option to "Create new." Go ahead and click on that.
- You'll be asked to give your new sync drive a name. This is called the "Display Name." Choose a name and type it in.
- Next, create a "Token Name." This is just another name used for identification purposes.
- Then, it's time to select the owner of the sync drive. Choose the appropriate user.
- If you want your data to be extra secure, you can add end-to-end encryption. To do this, type in a secret passphrase.
After you finish, your new sync drive will be set up!
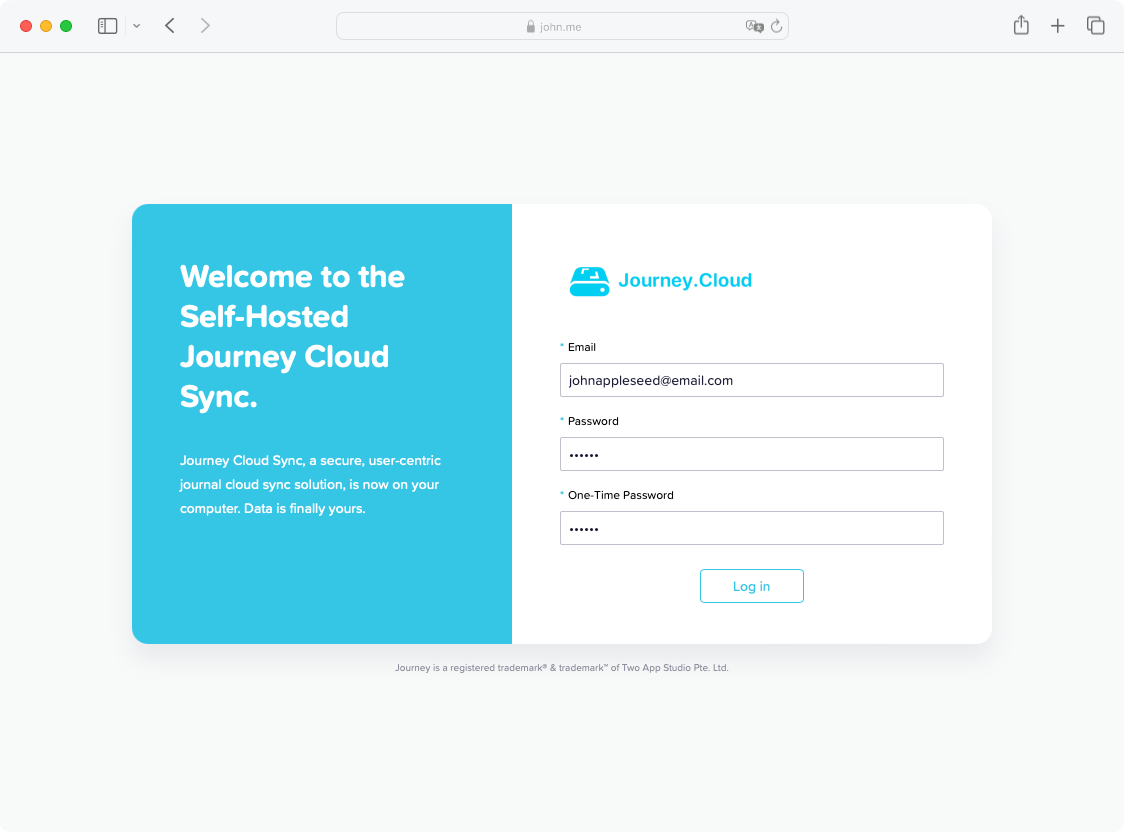
Step 2: Link the Sync Drive to Journey App
To link your Sync Drive to the Journey app, start by opening the Journey app on your device. Once the app is open, look for the Settings menu. In Settings, you will find an option called "Data & Cloud Services." Click on that.
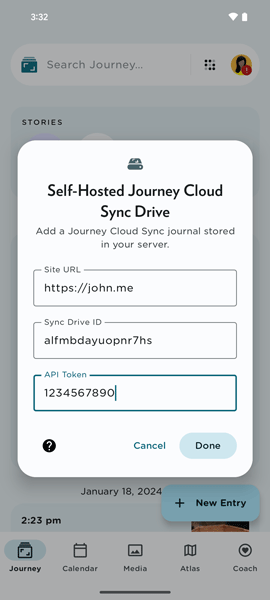
Next, you will see an option to "Create a new cloud service." Select this to start the connection process. The app will ask you for some details about your Sync Drive. Here are the details you need to enter:
- URL of Domain: Type in the web address (URL) where your Sync Drive is located.
- Sync Drive ID: Enter the unique ID which identifies your Sync Drive.
- API Token: This is a special code you got in Step 1; type it here.
After you've entered all these details, hit the "Submit" button to finish setting up. This will link your Sync Drive with the Journey app. For a detailed instruction, please read more about it in the help desk.
How You Can Contribute to Self-Hosted Journey Cloud Sync
If you're interested in helping out with the Self-Hosted Journey Cloud Sync, there are many ways you can contribute, and everyone is welcome! Whether you're catching a small mistake, dreaming up a new feature, or offering suggestions for better methods, your help will improve our project.
Here’s how you can get involved:
Reporting Issues
If you run into a problem or think of something new you want the program to do, tell us on GitHub. Describe the problem in detail or explain what you want to see happen.
Feature Suggestions
If you have ideas for something new or a way to make things better, open an issue and describe your thoughts. We'll look at your ideas and talk about them with everyone.
Code Contributions
If you like coding, clone the project, adjust things, and then ask us to pull your changes. Remember to follow our rules and code in the style we use.
Documentation
Clear instructions and information are key. If you find mistakes or missing parts in our documentation, feel free to fix it directly or suggest improvements.
Testing
Check out new updates, fixes, or changes and let us know what works or doesn’t in different settings. You can leave feedback as GitHub issues or in your pull request.
Spread the Word
Tell people about your experiences with our project on social networks, forums, or among other developers. The more people hear about it, the more helpers and users we can gather.
Funding
Support our work by buying a membership, which helps us pay for development and keep the project growing and running smoothly.
Every bit of help counts, and we appreciate the time and effort our community puts into making our project better.
The introduction of Self-Hosted Journey Cloud Sync marks a pivotal step in empowering us to take control of your personal journal data. By launching a separate self-hosted version of Journey Cloud Sync in May 2024, you are now able to host, manage, and modify your journal data according to your specific preferences. This initiative not only enhances your privacy and security by placing data directly in your hands, but also aligns perfectly with the growing demand for customizable and secure data management solutions.
As we continue to seek greater control over our digital footprints, Self-Hosted Journey Cloud Sync serves as an ideal solution, offering both the flexibility and the security needed in the digital age. Moving forward, as more individuals become aware of the significance of data sovereignty, we hope that the adoption of self-hosted solutions like Journey Cloud Sync will become more widespread.
Self-hosted Journey Cloud Sync will be available on the Android, iOS, Mac and web app this May.